This website uses cookies to ensure you get the best experience on our website. Read more
How to Use a Hair Remover Wax Warmer at Home: A Beginner’s Guide
May 24. 2025
How to Use a Hair Remover Wax Warmer at Home: A Beginner’s Guide
Looking for a salon-smooth finish without stepping out of your home? A hair remover wax warmer is your secret weapon! Especially for those with Indian skin and hair types, waxing at home not only saves time and money but also offers more control over your beauty routine.
Home waxing allows you to customize your experience with gentle herbal waxes that cater specifically to sensitive and textured skin. Plus, you can maintain your grooming schedule on your own terms no appointments, no waiting rooms, just smooth, radiant skin whenever you want. With a bit of practice and the right products, you’ll discover how convenient and effective DIY waxing can be.
What Is a Wax Warmer & Why Should You Use One?
A wax warmer is an electric device that melts hard or soft wax to the perfect temperature for easy hair removal. Unlike cold wax strips, warm wax adheres better to coarse hair (common among Indian skin types), pulls from the root, and leaves your skin smoother for longer.
Benefits of Using a Wax Warmer at Home
- Perfect for sensitive and pigmented skin
- Removes thick, coarse hair effectively
- Saves money on frequent salon visits
- Hygienic and customizable
- Ideal for arms, legs, face, underarms, and bikini area
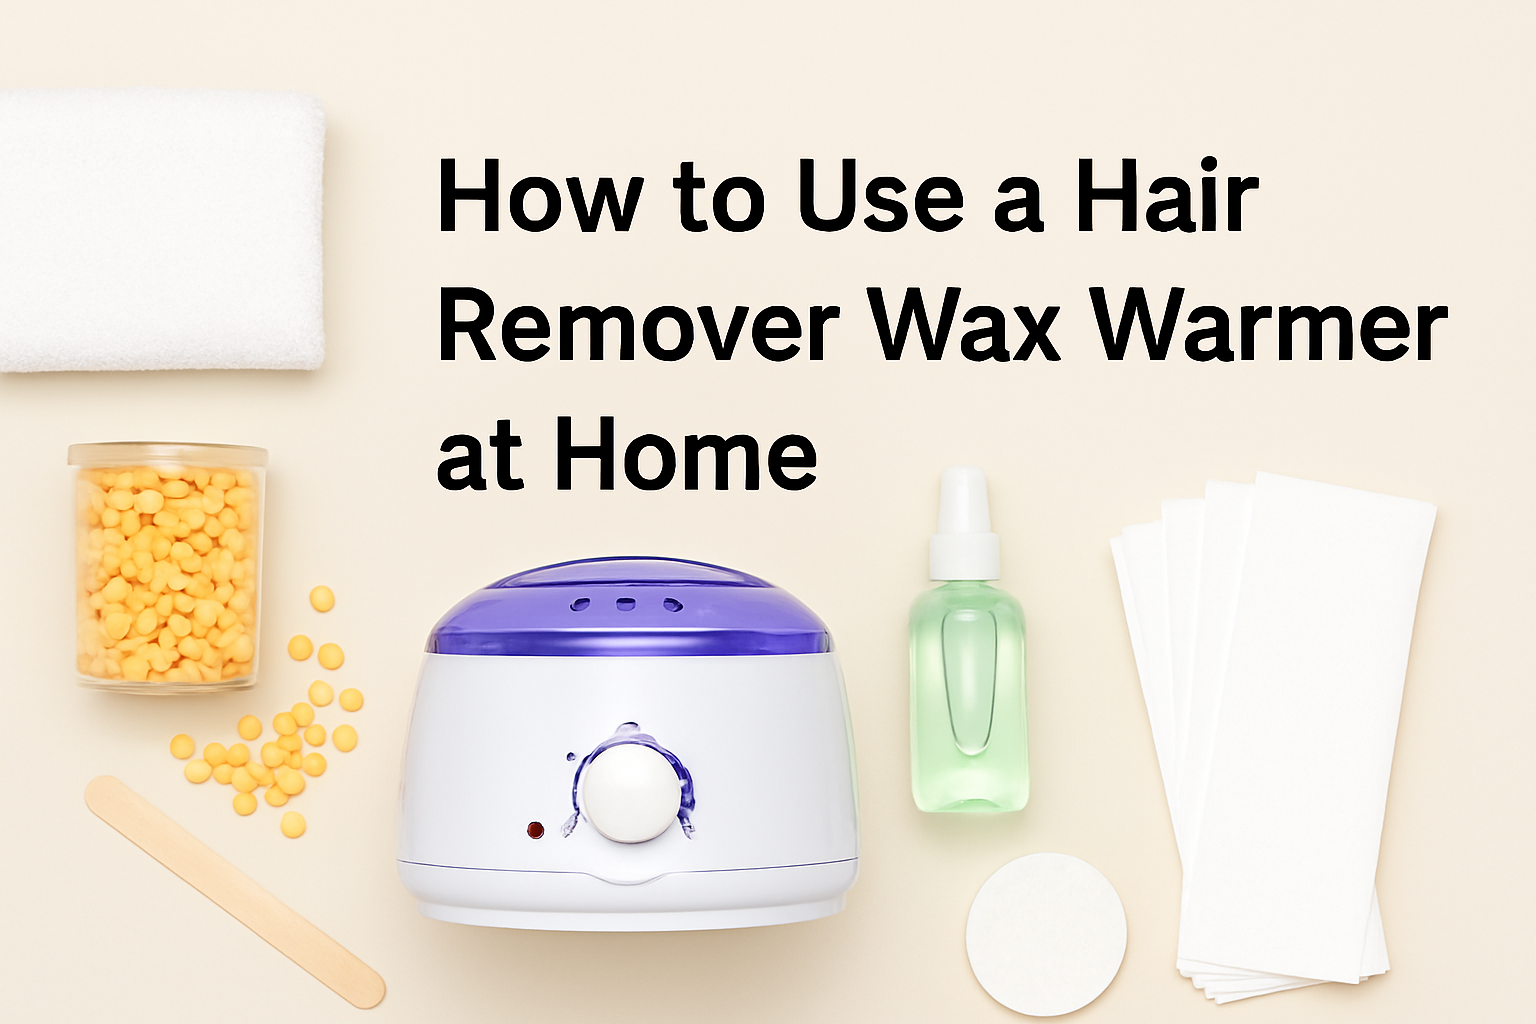
What You’ll Need?
Before you begin, make sure you have the right tools. Here's a quick checklist:
- Wax warmer
- Hair removal wax (Choose herbal Indian waxes like Haldi-Chandan or Aloe Vera for gentler results)
- Wooden spatula/applicator
- Waxing strips (for soft wax)
- Pre-wax cleanser or baby powder
- Post-wax oil or soothing gel (like aloe vera)
- Cotton cloth/towel
Step-by-Step: How to Use a Wax Warmer at Home
Step 1: Prep Your Skin
- Clean the area with a gentle cleanser to remove oils and sweat.
- Pat dry completely and dust a bit of baby powder to absorb moisture.
Step 2: Heat the Wax
- Plug in your wax warmer and add the wax beads or soft wax.
- Heat until the wax reaches a honey-like consistency. Most warmers have temperature settings—keep it medium to avoid burns.
Step 3: Apply the Wax
- Use a spatula to spread the wax in the direction of hair growth.
- If using hard wax, let it cool slightly until it firms up.
Step 4: Remove the Wax
- For soft wax, place a waxing strip over it and press down firmly.
- Hold your skin taut and pull the strip quickly in the opposite direction of hair growth.
- For hard wax, lift the edge and pull swiftly—no strip needed!
Step 5: Soothe & Clean Up
- Wipe any residue using post-wax oil or coconut oil.
- Apply an aloe vera-based soothing gel to reduce redness.
Waxing Do’s & Don’ts
Do:
- Exfoliate 24 hours before waxing for better results
- Moisturize your skin the day after waxing
- Always do a patch test if trying a new wax type
Don’t:
- Wax over cuts, bruises, or sunburned skin
- Apply wax on broken or sensitive skin
- Overheat wax—always test first!
Why Indian Hair Removal Waxes Work Best for You
Indian waxes like Haldi (turmeric) and Chandan (sandalwood) are gentle on melanin-rich skin, reduce inflammation, and offer anti-bacterial benefits. If you have sensitive or acne-prone skin, opt for these herbal variants available at Singh Cart.
Final Thoughts
Using a hair remover wax warmer at home gives you professional results with more comfort and less cost. With Indian waxes specially made for sensitive and melanin-rich skin, your DIY waxing experience can be just as luxurious as a salon visit. Ready to begin? Shop affordable and effective wax warmers and herbal waxes at Singh Cart, trusted by the Indian-American community across the USA.
Frequently Asked Questions (FAQs)
1) How long does it take to heat wax in a wax warmer?
Ans - Most wax warmers take 15–20 minutes to heat the wax completely, depending on the quantity and the type of wax used. Stir occasionally to ensure even melting.
2) Is it better to use hard wax or soft wax at home?
Ans - Hard wax is better for small, sensitive areas like the face and underarms because it doesn’t require strips. Soft wax is ideal for larger areas like arms and legs. Both work well in a wax warmer and depend on your hair type and skin sensitivity.
3) Can I reuse leftover wax in the wax warmer?
Ans - Yes, leftover wax can be reused if it is free from hair and debris. Let it cool, cover the wax pot, and reheat it during your next session. However, avoid reheating wax that has come into direct contact with skin or strips.
4) What should I do after waxing to avoid bumps or irritation?
Ans - After waxing, apply a cooling gel or aloe vera to soothe the skin. Avoid hot showers, tight clothing, and direct sun exposure for 24 hours to prevent irritation and ingrown hairs.


Singh cart
The tiles are highly resistant to water and dirt and can be cleaned, so they are compatible with the cultivation of plants and cooking and the functions.
Your email address will not be published. Required fields are marked*